


Contents
- What will you learn from this post?
- At a glance
- 1. how to prepare a new bicycle for riding? To begin with, correct saddle positioning
- 2. steering wheel alignment
- 3. adjustment of brake handles
- 4. shock absorber adjustment
- 5. wheel and tire inspection
- 6. how to prepare a new bicycle for riding? Lapping of brake pads
- To make your bike last for years to come....
It happened! You finally managed to buy your dream bike! But before you head out for your first ride, be sure to set it up properly and adjust it to your body shape. A comfortable position will translate into a safe and comfortable ride. Fortunately, adjusting the bike after purchase is not difficult – basic technical skills and tools that can be found in most homes are enough. Not sure how to go about it? We suggest how to prepare your new bike for riding!
What will you learn from this post?
- How to prepare a new bike for riding?
- How to adjust the saddle on a bicycle?
- Where to store a bicycle?
At a glance
Adjusting the bike after purchase should include adjusting the saddle, handlebars, brake handles and shock absorber. It’s also a good idea to check that the wheels are straight and the tires and tubes are properly fitted. On the first rides it is better not to go crazy, but to reach the brake pads with sensitivity.
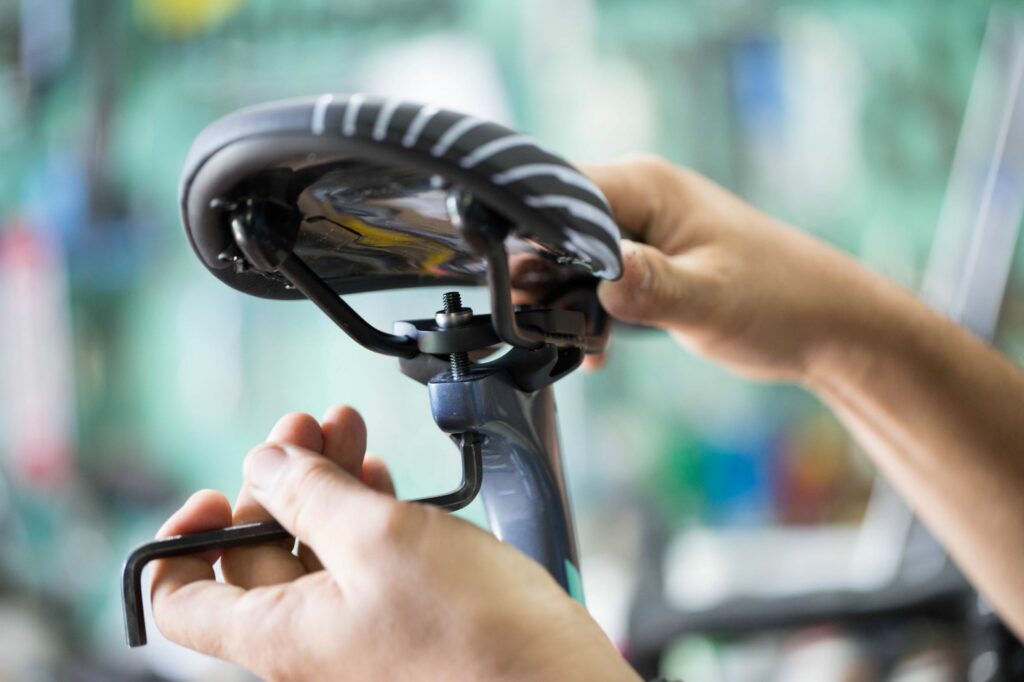
1. how to prepare a new bicycle for riding? To begin with, correct saddle positioning
Setting up a trekking, city or MTB bike is a good idea to start by adjusting the saddle height. To do this, align the crank with the seat tube and rest your heel on the lower pedal. To begin with, it’s a good idea to adjust the saddle so that your leg is completely straight in this position, and minimally bent when you place the front of your shoe (the one you normally pedal with) on the same pedal. Now it’s time for a test drive! During it, you will assess whether you are straightening your legs too much (saddle too high) or bending your knees sideways (saddle too low).
The next step in adjusting the bike after purchase is to set the saddle at the correct distance from the handlebars. This time set the crank horizontally and place your feet on the pedals as if you were riding. In this position, a line drawn vertically from the knee closer to the steering wheel to the ground should pass through the center of the pedal.
2. steering wheel alignment
Once the saddle is set, it’s time for the handlebars. Its height will depend on the type of bike and your height, and therefore the saddle position. In city models, the handlebars are usually at least 5 cm higher than the saddle, which translates into a comfortable, upright position. However, the optimal setting for an MTB or trekking bike will be different. In the case of a “mountain”, set the handlebars flush with the saddle and test this setting for several rides. After a while, you can try lowering the handlebars and deepening the position, but nothing by force. Remember that the angle between the arms and torso should not be less than 90 degrees.
3. adjustment of brake handles
When adjusting the bike after purchase, it is worth remembering the brake handles. They should be positioned so that, with the hand positioned in the middle of the grips, it is possible to operate the brakes with the index fingers alone. As for the angle, at first it is best to position the handles so that they are an extension of the arms leaning against the handlebars. After some time, if necessary, you can make minor modifications. However, remember! When properly positioned on a cross bike, MTB or other model with flat handlebars, the handles are never parallel to the ground.
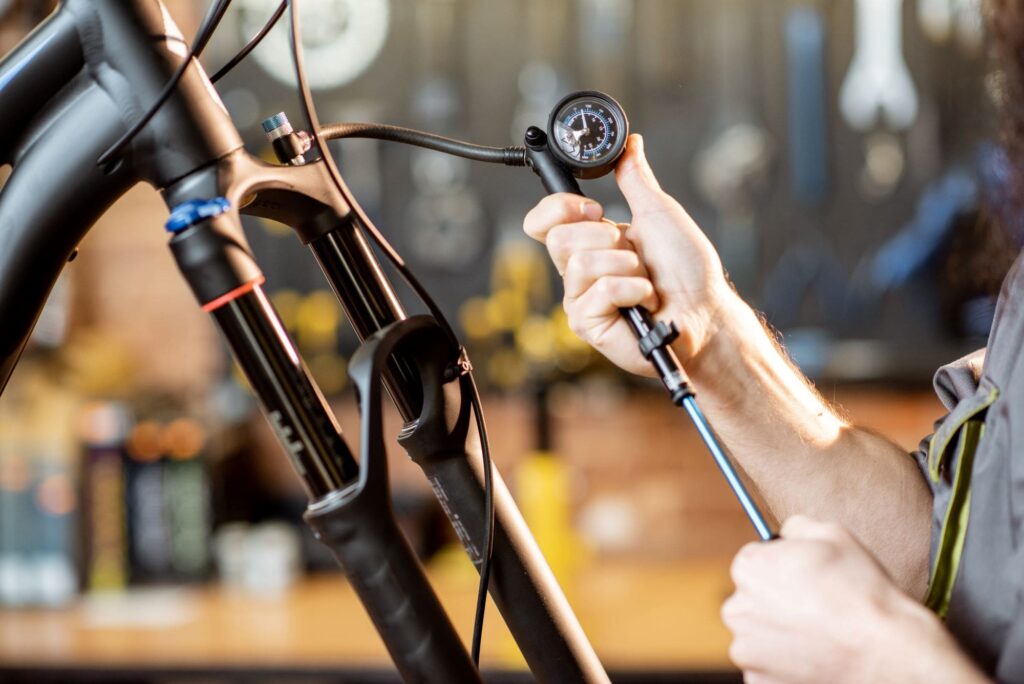
4. shock absorber adjustment
How to prepare a new bike for riding? Don’t forget the shock absorbers! In their case The most important parameter is the so-called. SAG, also known as pre-deflection, hardness or pressure. This value determines the extent to which the suspension should yield under you when you are in a fully rigged riding position. In the case of air shock absorbers, the adjustment involves changing the amount of gas in the chamber using a special pump, while in spring models an external knob is used for this purpose.
Another important parameter is Rebound, which affects how quickly the shock absorber returns to its original position after driving over a bump. If you react too quickly, the wheel may bounce, and if the return is too slow, the shock absorber will not straighten out before the next obstacle. Adjustment, if possible, is done with a knob – it is usually red and has a sticker next to it with a scale from rabbit (fast return) to tortoise (slow return).
5. wheel and tire inspection
Also inspect the wheels before your first ride, as even on new unicycles they are not always straight. If you take care of them at the start, the chance that they will become concentrated later on will be much lower. Also check that the tires and tubes are properly fitted, then inflate them. When it comes to pressure, remember to stick to the manufacturer’s guidelines.
6. how to prepare a new bicycle for riding? Lapping of brake pads
Lapping a new bike can take some time, so don’t gyrate your equipment on your first rides. This is especially true for brakes, which only reach their maximum power after a certain period of time. To reach the pads safely, accelerate a dozen times to 20 km/h and gently decelerate to 5 km/h, then do the same after accelerating to 30 km/h.
To make your bike last for years to come….
Setting up a new bike correctly is not enough. In order for your unicycle to serve you trouble-free for many years, you need to remember to regularly wash, lubricate and service your equipment. It is also very important to store the bike in a warm and dry place. Keeping the bike under a cloud is bad for the drive and can lead to the appearance of corrosion. It is best to store the unicycle in a heated basement, garage or apartment. If you’re having trouble finding enough space, invest in a good bike rack that will allow you to hang your gear on the wall.
You may also be interested in:
Bike stand: professional vs. market stand. Is it worth paying more?
How to protect a bicycle from theft?
Having trouble finding a place to store your new equipment? You can find bike hangers and racks at rtrbikes.com.